I have a question, I want to add an email subscription form in my blogger blog, but I do not know how to add an email subscription form to blogger and subscribe form in the blogger template. And I also want to add some high-quality backlinks in blogger and get traffic from high PR backlinks, which relevancy will be on the content of this email.
Everyone uses different ways to promote an email newsletter. So, in this case, I would show you the most advanced, quickest, and easiest way to add your email newsletter widget to your website where it can offer you the best results.
It is crucial to get high-quality backlinks to your blog and especially to the email newsletter part in the Blogger blog. This email newsletter widget is also essential to get quality backlinks: it's a really reliable and reasonable way for traffic and users.
18 Steps to Follow to create an email newsletter in blogger
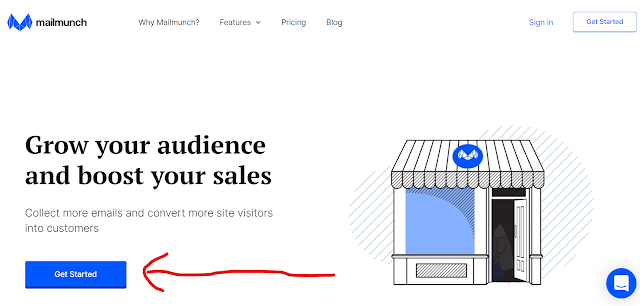
Step4) Now, you have to enter details like your Business name, phone number, Industry, Language, etc... This is just a signup process for your website.
Step 10) Now, we have come to the dashboard of Mailmunch. We have to create a newsletter widget, so we have to select first form types like Popover forms, Embed forms, Topbar forms, Scrollbox forms, cover forms, etc...
Then select from templates depending on your type. There are numerous different types, but you only choose out of 3 form types in the free version, so we select the simple email newsletter widget type.
Step11) After selecting a template now, the next step was customizing the template directly. It depends on you how you customize and design your template.
Step12) Here, you can also create free high do-follow backlinks with high da and pa.
So first, you have to go to Descriptions, and in descriptions, you have to create your backlinks with dofollow like the show is given below image ( I have also created my backlinks for my website like this)
Step12) After Customizing the template,, this step was essential to integrate your email service provider to create the email campaign for your website.
I Prefer to choose Mailchimp Integration Become mail chimp offer so many things for free, like 2000 contacts and 10,000 Subscribers, etc...
Step14) After Integration now you have to go to the last step is to activate you publish the form and then go to blogger and then copy this code as shown in the given image below:
Step15) We'll now go to the blogger website and go to the layout section. In the layout section, we'll go to the side widgets and then add widgets. Then, in that, we'll select HTML & Javascript. In that, paste the code that's in the Mailchimp template.
Step16) Now, as you can see, your form is active as shown below: Now go to the home dashboard mail munch.
Step17) Now, In Dashboard, you can see that you have to add such code to activate and see your f on the homepage.
Step18) This is the Important step to insert your code before the </head> section. After inserting the code then you have to verify the code. After confirming the code then your form is active.
Congratulations,, you have successfully installed the Email Newsletter widget in blogger, and you have also created high-quality backlinks.
Conclusion
I hope you find this post very helpful. And if this post is useful, then please share it with your friends, and if you have any queries, comment on us., We will solve your questions via the comment section.


